Forge Welding a Large Billet
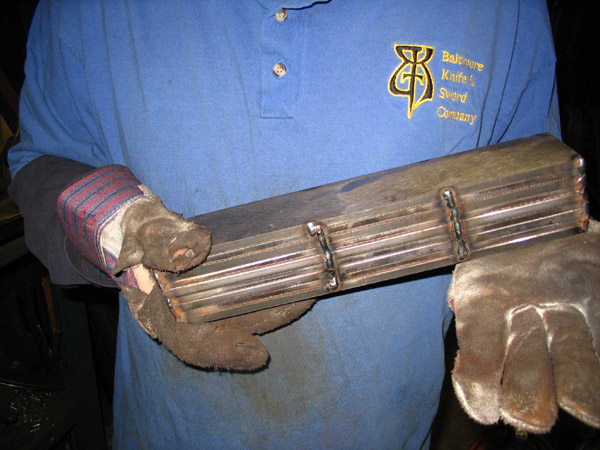
This is a tutorial of BKS making a large billet of Damascus. The purpose of this billet is for making Viking era guards and pommels so we will leave the billet quite large. The materials we are using are 15N20, 1018 and 4130. These will give us great lines and color difference in the layers. 1st we cut the different pieces of steel the same size. Then we sand the flats of all the pieces to eliminate scale and rust. Some say this isn't needed, but we do it every time to increase our chances. Why go through all the trouble of making a billet and not spend the few minutes sanding the surfaces. We stacked the pieces with 15N20 between every piece. 15N20 has always worked as a great bonding layer for us. Then we weld the corners and weld on a forging handle. We prefer to use a welded bar and sanding the weld off later. We tend to work rather large billets and the handle gives us more leverage.
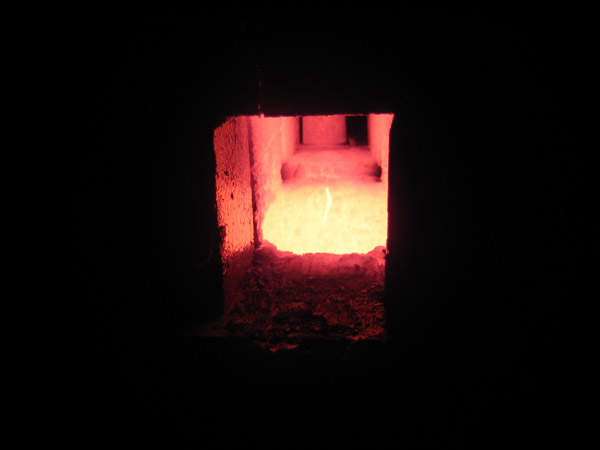
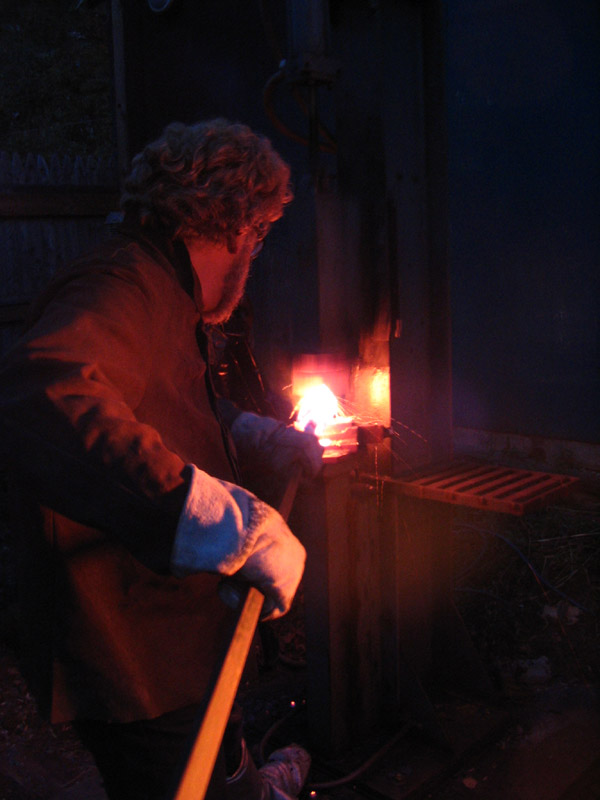
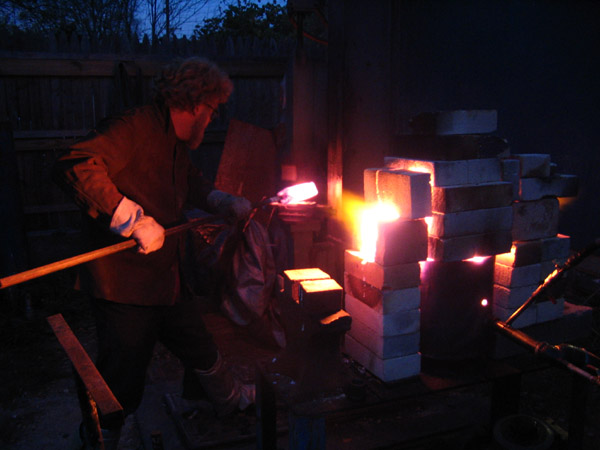
After the billet is prepped, it is time to fire up the forge. We use an upright blown foundry set up with an upper chamber made of fire brick. The forge we will be using is set up as both a propane and a waste oil burn. This set up heats up fast and retains the heat great.
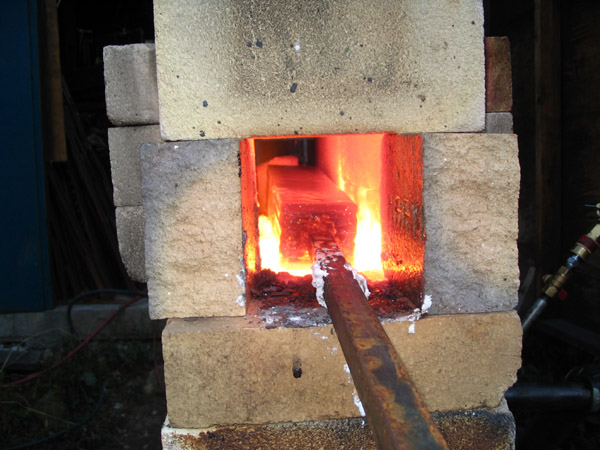
We preheat the billet until it starts turning a bit red. Somewhere around 800 to900 degrees. Then we apply the flux generously. Flux is cheap and we use a lot of it. Then we put it back in the forge, turning it a quarter turn every minute or so until we reach even welding temperature(2300°) through the whole billet.
After reaching temperature it is ready for the power hammer. The hammer that we will be using is a Iron Kiss air hammer. We have drawing dies that also have a flat on the side for welding and straightening.
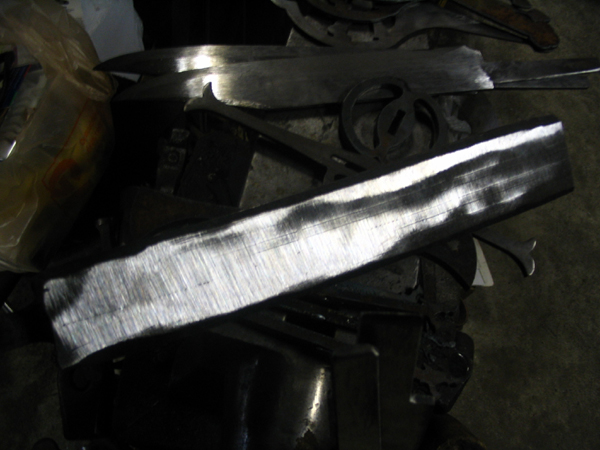
We take the billet by the handle go straight to the flat dies and hit it hard and even. Be aware that there will be splatter out the sides of the billet. After a few hits over the whole surface with the flat dies we often take it to the drawing dies and work it a bit. As soon as the yellow fades we wire brush, reapply flux and stick it right back in the forge and let it soak. We like to remove as much scale between heats as we can. We also feel that the first two heats you need to stay well in the yellow and work the flats only. After the 2nd time on the hammer it is safe to turn the billet on it's side and true the sides.
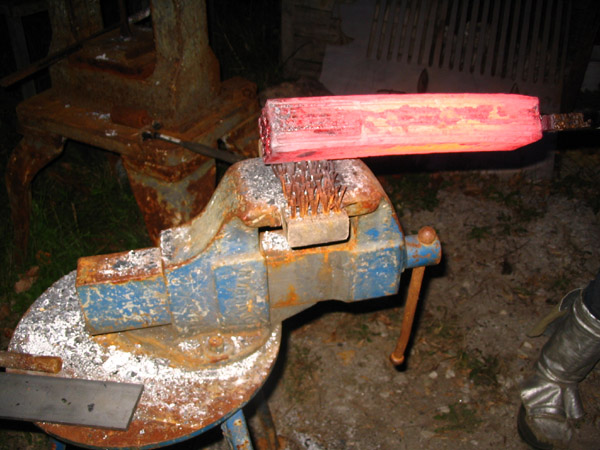
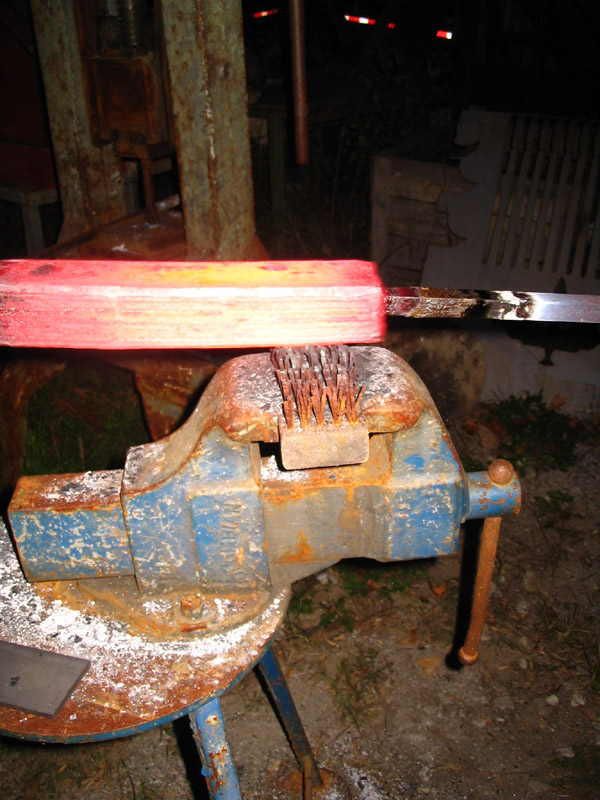
Once you are welded it is time to decide where you want to go from there. You can forge out and fold or your can take it semi round and twist or you can plan any other pattern that you want. For this large billet we are leaving it quite plane because we intend to carve Viking parts with it. The shear shape of the fittings will give us our desired layered effect. If your goal is making a billet for blade stock then you should plan to do some sort of a pattern. We prefer twisting and hammering it back square. We like to run it through our rolling mill to get it perfectly even. If you make a large blade out of twisted Damascus, make sure that you normalize it before heat treating. Sometimes the blade wants to untwist during the quench.
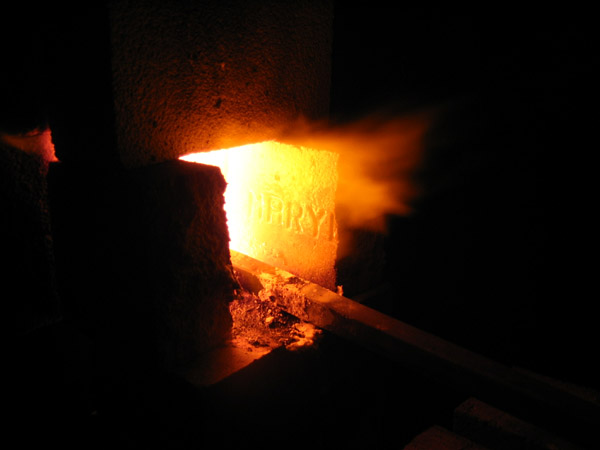
It is nice to forge weld at night. That way you can see your heat colors better. Here is a video of us welding the billet. Pay attention to the steps that I outlined above.
Please drop us an email and let us know if this tutorial helped you. |